
 As educators, we all realize the importance of vocabulary when it comes to comprehension. Google Slides is the perfect resource to help build vocabulary. Slides allows you and your students to build custom digital vocabulary decks. A single deck can be organized around a unit of study, a book, or even continued for an entire school year. 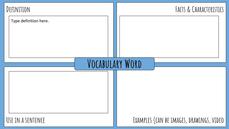 Here are a few ideas to get started with your students:
Vocabulary graphic organizers - Create a template with a graphic organizer that fits your needs. Students can make a copy or share to collaborate. Digital word collage - Combine shapes, colors, images, fonts, or videos to convey the meaning of a vocabulary word. Shared word bank - Create a slide deck and share it with your class. Students add vocabulary throughout the year, unit, etc. to share with others. Math dictionary - Use your favorite vocabulary model for students to create a math vocabulary resource. Check out Megan Kelly’s example. Commenting tool - Use the commenting tool to provide feedback to students on vocabulary decks. Link the decks - Share the link to each student or group’s vocabulary deck in a common space such as a Google Doc/Slide, Google Classroom, Padlet, etc. This gives students access to all vocabulary work when studying.
1 Comment
 Teachers do not like to miss school, but there are times that it is inevitable. Don't get caught without sub plans! Google Slides make it easy to leave detailed digital substitute plans. Create a slide deck with routines, rules, and activities for each class. Because the Google Slides application makes it easy to add links, pictures, and videos, you can get as detailed as you need to about what you need your sub to know. (Think about adding a video of yourself reminding students about classroom expectations or giving the day's instructions.) Because you can edit Google Slides anywhere at any time, it is convenient to update sub plans as needed. Email or share a link with your administrator, or simply leave a link to your sub slide deck in your room. Anyone that needs access to your plans has them. That's it! Tip: When your slide deck is ready, click the Share button. Choose "Get shareable link", and change your share setting to "Anyone with the link" has "View" access (no sign-in required). 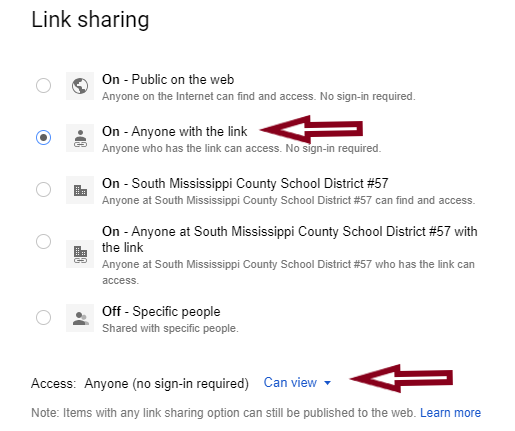  Do you feel like you are always behind schedule? Staying on track can be a struggle in any classroom. Setting a visible timer is a helpful way to keep the day rolling and encourage students to be responsible for their own time management. By simply incorporating YouTube videos into Google Slides, you can have an entire set of timers at your fingertips. Here's how to create a slide deck of task timers:
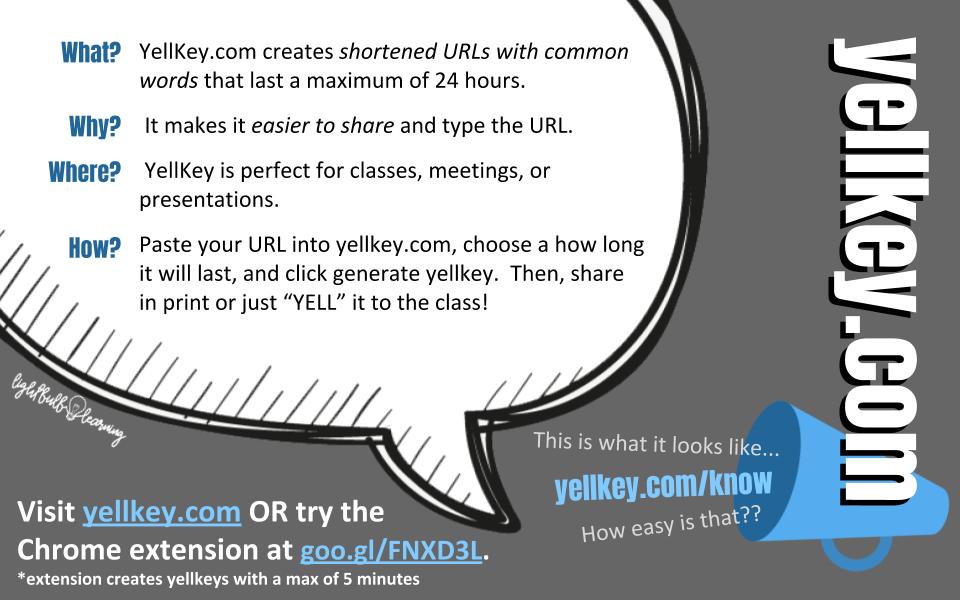
That's it! You now have a set of timers to project on your classroom display. Need help getting started? Try using this template. Duplicate the slide you will use by pressing crtl+d. Then, edit the text to reflect the task.   One of the most versatile tools we have in our Google Suite for Education is Google Slides. If you only use it for presentations, you are missing out on creative ways to engage students and allow them to share their ideas and knowledge. Each week, we will share a way you can use Google Slides in your classroom. One of my favorite "non-presentation" uses is ... Collaborate Brainstorming or Knowledge Sharing: Create a slide deck, share the link (using Google Classroom or a URL shortener). Each person grabs a slide and starts creating. Think about doing this as you are watching a video clip, listening to a lecture, brainstorming things you know about a subject (think KWL/brain dumps), reading a book, building a vocabulary deck...the sky is the limit. Because slides let you add text, links, shapes, and multimedia, students can be creative in their own ways. Students and teachers can use the commenting tool to comment on a slide. Let's give it a try. With Thanksgiving right around the corner, let's do a collaborative deck sharing what we are thankful for. Click on Rivercrest School District: We're Thankful to get started.
 We have some great technology sessions planned for the summer! Registration opens April 15 (CRESC Shoebox). These fill up fast!
For a complete list of dates and descriptions, go to bit.ly/summerpd18. 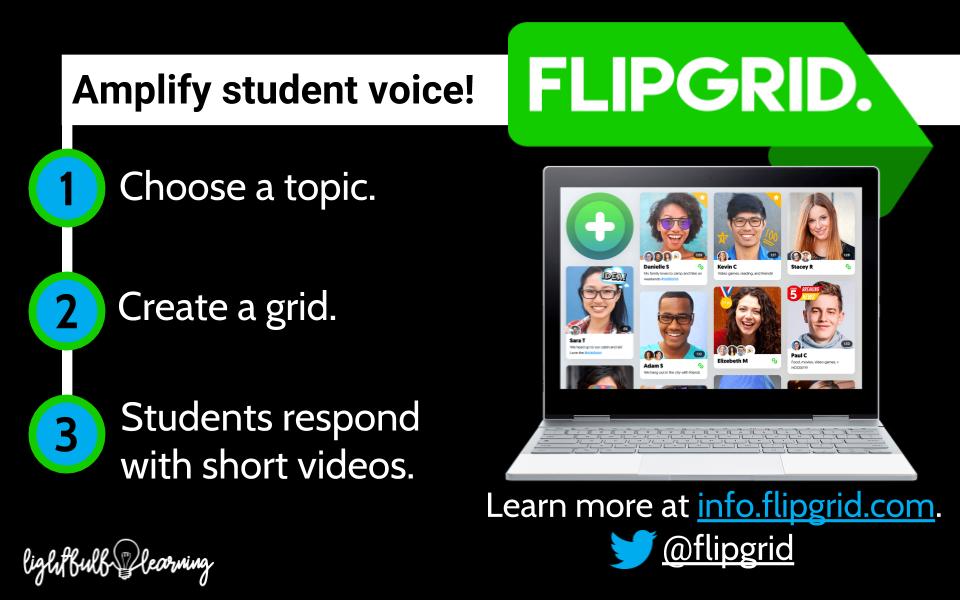 I came across Flipgrid as I was preparing to facilitate professional development last summer. It is one of the hottest technology tools being used right now, and I am anxious for some of our teachers to grab hold of this tool and run with it. What if you had an easy way for students (or anyone) to share their thoughts, ideas, stories...their voices? What if they could pick up their phones or use their Chromebooks to quickly record a video of themselves responding to a question or sharing their thoughts, and what if all of the responses were organized in a grid for you to view? What if students could respond to each other and ignite conversations with other students in our school or anywhere in the world? All of our students need practice speaking and knowing how to express themselves clearly and concisely. We often attack this by having students get in front of the room and give speeches or presentations. Flipgrid offers another alternative and breaks down classroom walls allowing students to express themselves anytime, anywhere. Want to try it yourself? Go to my PLN Grid and share your favorite technology tool. If you decide to give it a try, I would love to hear how you use it. Invite me to your grid! The Flipgrid website has tons of integration ideas and resources!
Follow @flipgrid on Twitter for even more inspiration. Keep in mind...
 Chromebooks were built for the web. They are efficient machines that take full advantage of GSuite apps. Sometimes as Chromebook users we find ourselves without internet access - this is when the device’s offline capabilities become handy. Google Drive is just one of the GSuite apps available offline, and with a few steps we can enable students to work when WiFi is unavailable. Chromebooks: Make Google Drive Available Offline
The Chromebook syncs your most recently opened documents, so they can be made available without an internet connection. To work on a document, open Drive and click on the document. You will notice a small lightning bolt icon near the title of the document - this lets you know you are working offline. Changes to the file will be synced the next time your Chromebook connects to the Internet. It is important to know that Google Classroom is NOT available offline. Most students and teachers use this app to manage assignments, so be aware of what you can and can’t do without access.
|

AuthorsDana Lane is a Technology Coordinator, and Kristy Graham is an Instructional Technology Specialist - both at Rivercrest School District. They are passionate about technology and learning and enjoy sharing this passion with teachers and students. 
Archives
January 2019
Categories
All
|
 RSS Feed
